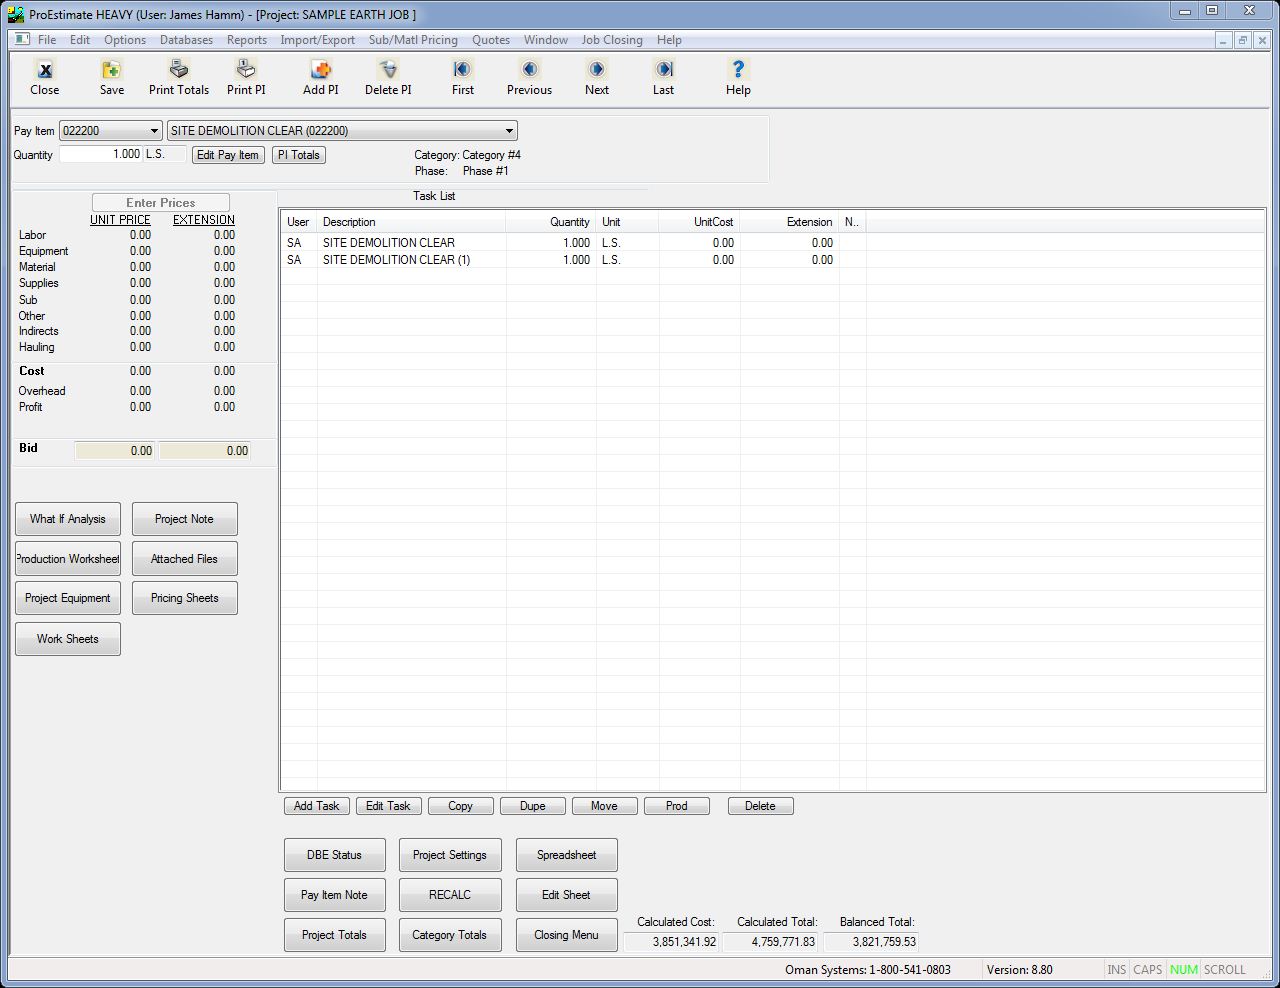
After you have created a new project and have loaded pay items into the project, you will be able to start the estimate building process. Most of the actual estimating will be accomplished on one of two screens: the MAIN ESTIMATE SCREEN or the SPREADSHEET SCREEN. In this section we will discuss the layout and options available on the MAIN ESTIMATE SCREEN. From this screen (see Figure 1), you can perform all actions related to building and completing an estimate, pay item-by-pay item.
click on this image to redirect you to a page that has more details, each button is hot linked.
Figure 1
TOOLBAR
From the Toolbar you can Close, Save, Add or Delete a pay item; Skip to the First, Previous, Next, or Last Pay Item in the estimate. Figure 2, below.
Figure 2
PAY ITEM
This section shows the current pay item information. You can use the Pay Item Number or Description list boxes to move to another pay item, Figure 3, below.
Figure 3
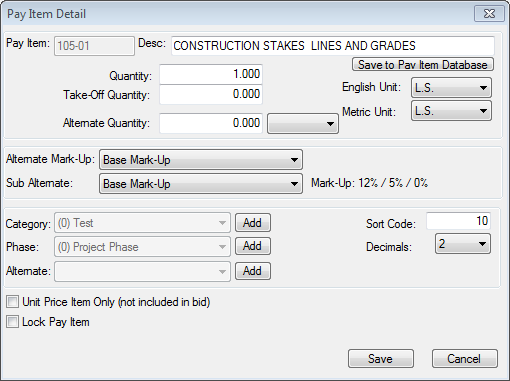
Clicking on the "Edit Pay Item" button will diplay the screen shown in Figure 4, Below. This screen will allow you to edit the description, quantity, take-off quantity(if any), designate the item as unit price only and change the unit of measure. You can also Lock the pay item.
This section of the window displays the current pay item unit prices and extensions. Also, if the current pay item does not have any tasks entered, you can press the ENTER PRICES button to enter "plug" prices for the current pay item. Click HERE for more detail on the Enter Price screen.
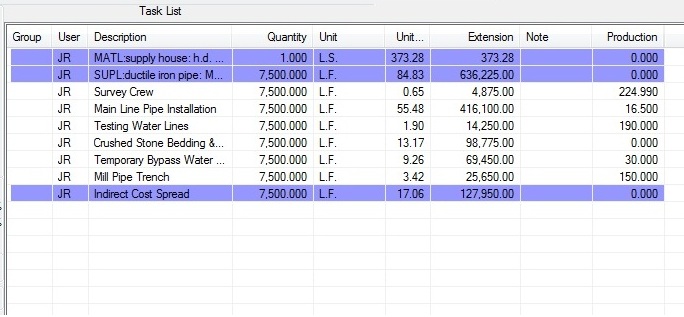
TASK LIST WINDOW
This window displays a list of the tasks entered for the current pay item. Using the Add, Edit, Copy, or Delete Task buttons, you can perform any of the functions needed to enter and edit tasks for the pay item. You can sort the tasks window by clicking on the column headings.
Figure 4
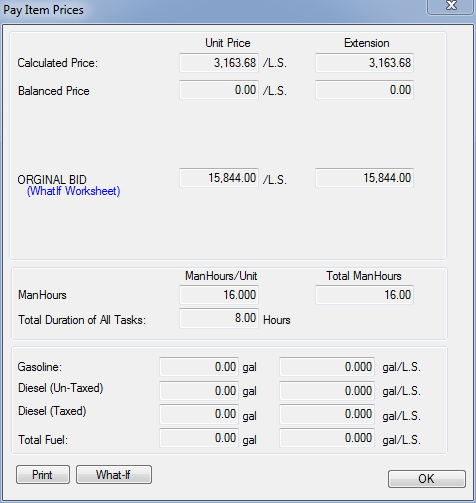
Selecting the "PI Totals" button(see Figure 3) will display the screen shown in Figure 5, below. This screen will display current pricing information, the State Averages (from the Pay Item Database), ManHour information and fuel requirements for the current pay item.
Figure 5
Figure 6
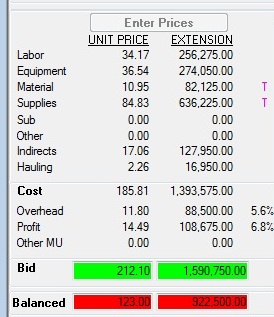
BALANCED PRICES
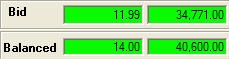
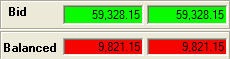
If there is a balanced price entered for the current pay item it will be listed below the Bid price on the Enter Prices screen(above) and will either be gray (if the balanced price equals the bid price) Figure 7, or RED (if the balanced price is less than the bid price )Figure 9, or GREEN (if the balanced price is more than the bid price) Figures 8.
Figure 7
Figure 8
Figure 9
Figure 10
RECALCULATE PROJECT (MIDDLE)
This option is used to recalculate all the costs within the project. If the button is shown like this: , then some costs have changed and the totals will need to be recalculated
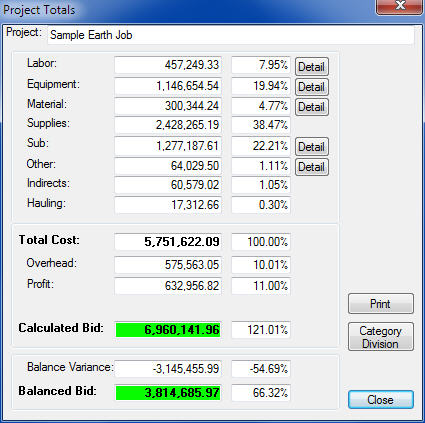
Selecting the "Project Totals" button displays the current project costs by type as well as the mark-up amounts.. Figure 11, below.
Figure 11
From this window you can also view detailed project totals for each of the five main cost types by pressing the button next to the cost type. In addition, you can view balanced bid totals, category totals and check the sub-contract percentage from this window.