|
PROESTIMATE NETWORK ONLY |
|
To install the server files: |
|
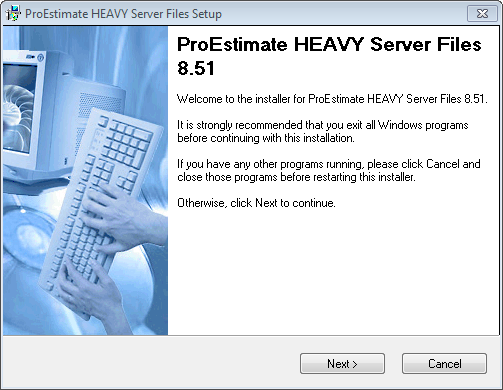
Place the server Install file on the desktop and then Run from the desktop. You will see the screen in Figure 1. Click Next. |
|
|
|
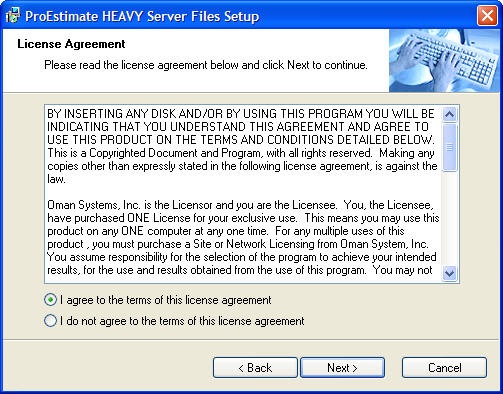
When you see the screen in Figure 2, select I Agree to accept License Agreement and press Next. |
|
|
|
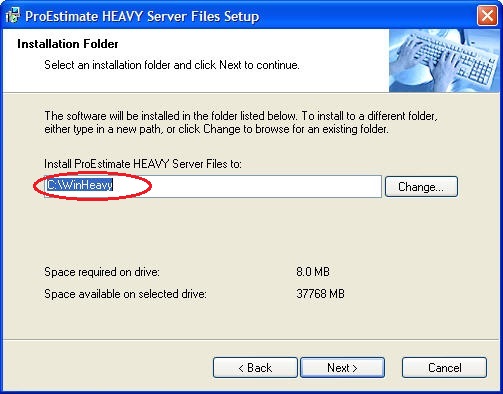
The screen shown below in Figure 3 allows you to set the location of the Server Files. This should be a drive accessible to all ProEst users with full access, i.e. K:\WinHeavy. |
|
After you have noted the correct server file location, Click NEXT. |
|
|
|
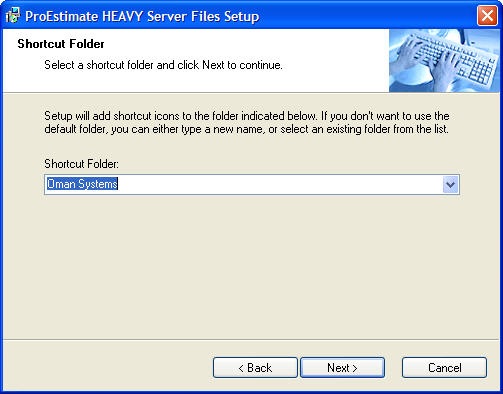
The next screen allows the selection of the program shortcut folder (Figure 4). |
|
|
|
Select the folder you want to install the shortcut into and press NEXT |
|
|
|
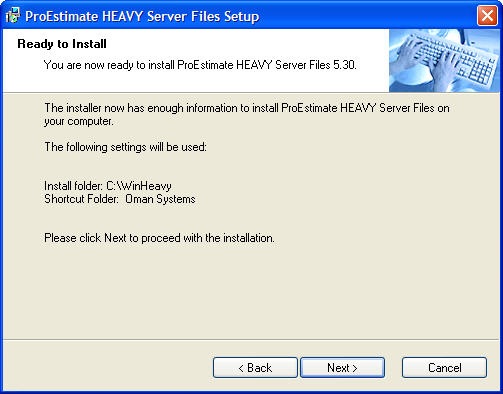
When you see the screen in Figure 5, Press NEXT to complete the Server File Installation. |