Home > Project Closing > Mark-Up Options > Entered Mark-Up Screen
Entered Mark-Up Screen
|
Overview: This screen (shown in Figure 1) allows you to enter the Profit for each pay item. You can also set a profit goal and then prorate that goal across the pay items. This option is only available if you select one of the following mark-up options from Figure 3.4: “Entered Mark-Up” or “Calculated Overhead/Entered Profit.”
|
|
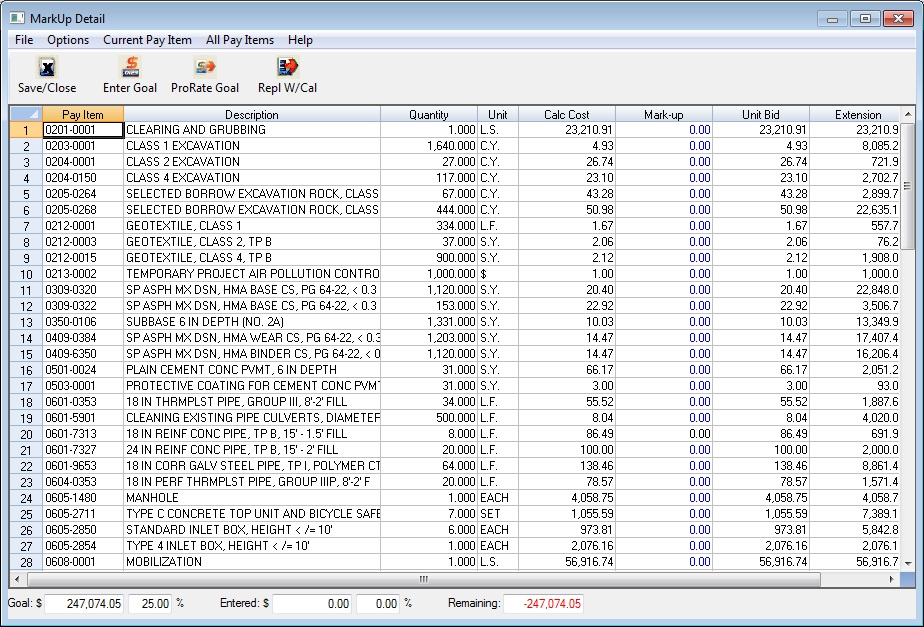
Figure 1
|
|
Mark-Up
|
(Editable) This column is used to enter the UNIT MARK-UP for each pay item. Depending on the mark-up option chosen for the project, this amount will either be the unit mark-up for the pay item OR the unit profit.
|
|
Unit Bid & Extension
|
(Read Only) These columns display the unit bid (including profit) and the total bid (unit bid times quantity) for each pay item.
|
|
Goal box
|
This field displays the Profit Goal you have set for the project. To enter a goal, select Enter Goal from the menu. You will then see the screen shown in figure 2.
|
|
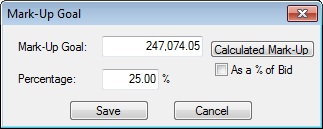
Figure 2
|
|
|
|
You can then select one of three ways to enter a goal. You can (1) enter a percentage of the cost; (2) enter a fixed dollar amount; or (3) press the “Calculated Mark-Up” button to automatically enter the calculated mark-up based on the percentages entered for each cost type.
|
|
Entered Box
|
(Read Only) This field displays the current profit total for the project. As you enter amounts in the “Entered Mark-Up” column, the system automatically tracks the total mark-up you have entered.
|
|
Remaining Box
|
(Read Only) This field displays the difference between the Goal amount and the Entered amount in total dollars.
|
|
|
|
See also